Basics of the Marketing email design tool
The drag-and-drop email designer lets you customize the email body with different content. If you are familiar with our Splash Page design tool, you are already a pro, as the email designer utilizes the same technology. Check out each section below to get a feel for how the tool works!
Background Editing
Customize the background color, width, alignment, and more by selecting Body from the panel on the right-hand side.
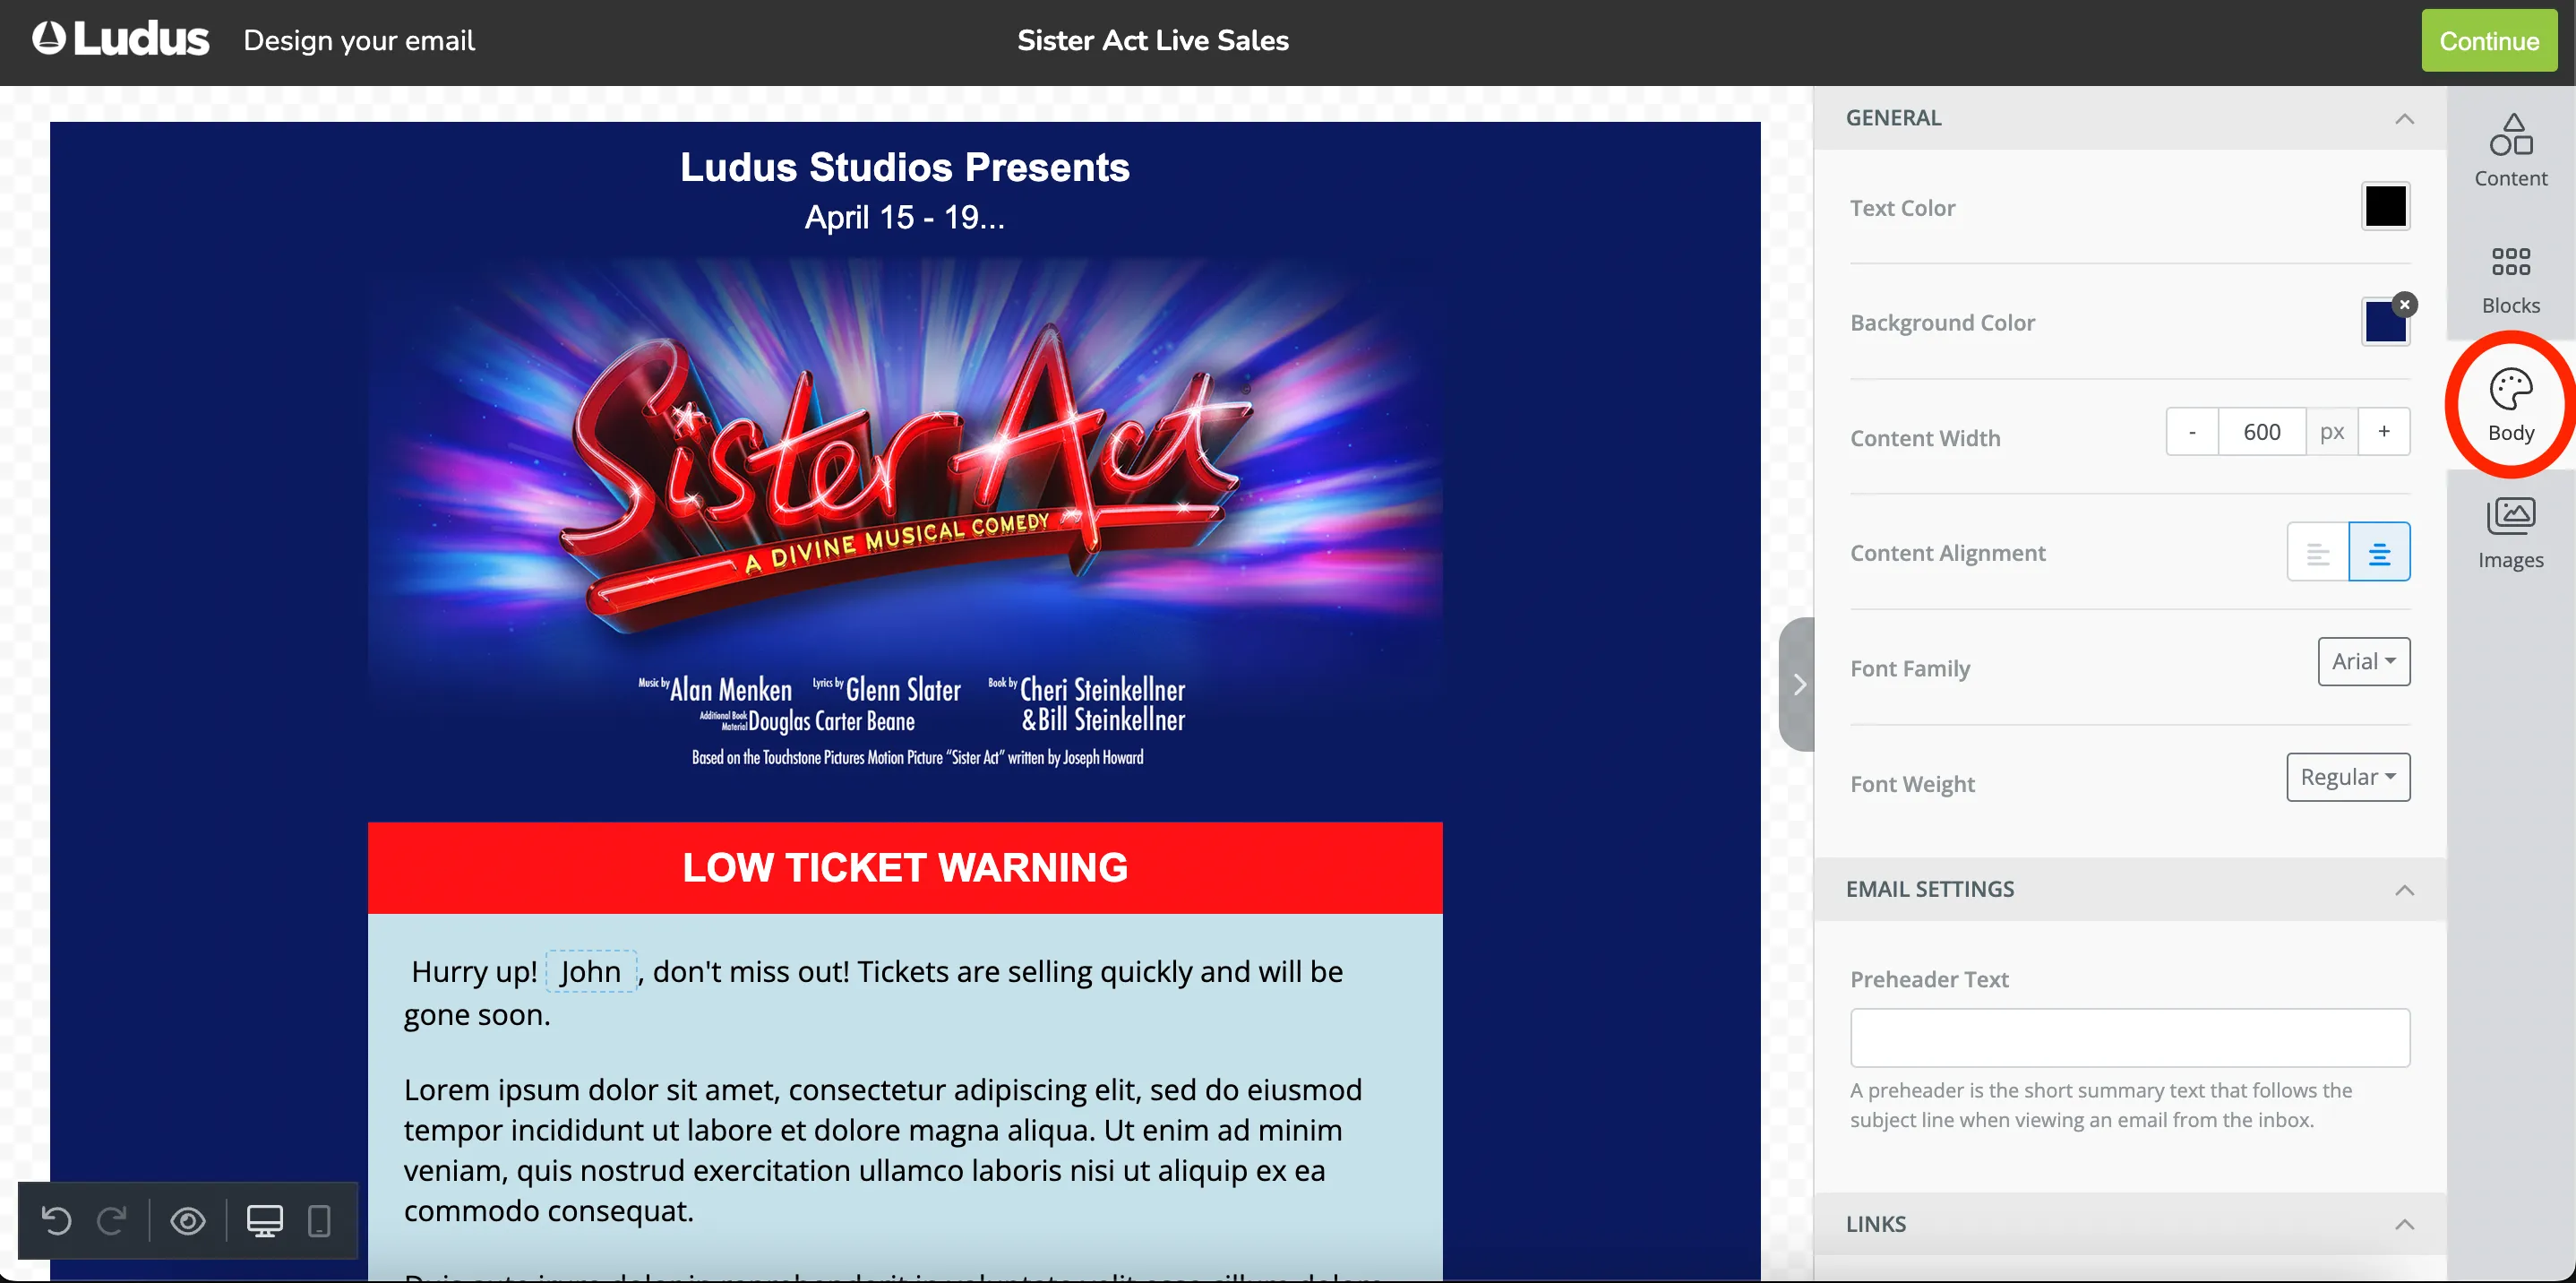
Body Editing
Decide how many elements are side by side by inserting different blocks. Click Blocks in the panel on the right-hand side, then drag the desired layout to the spot in the email body.
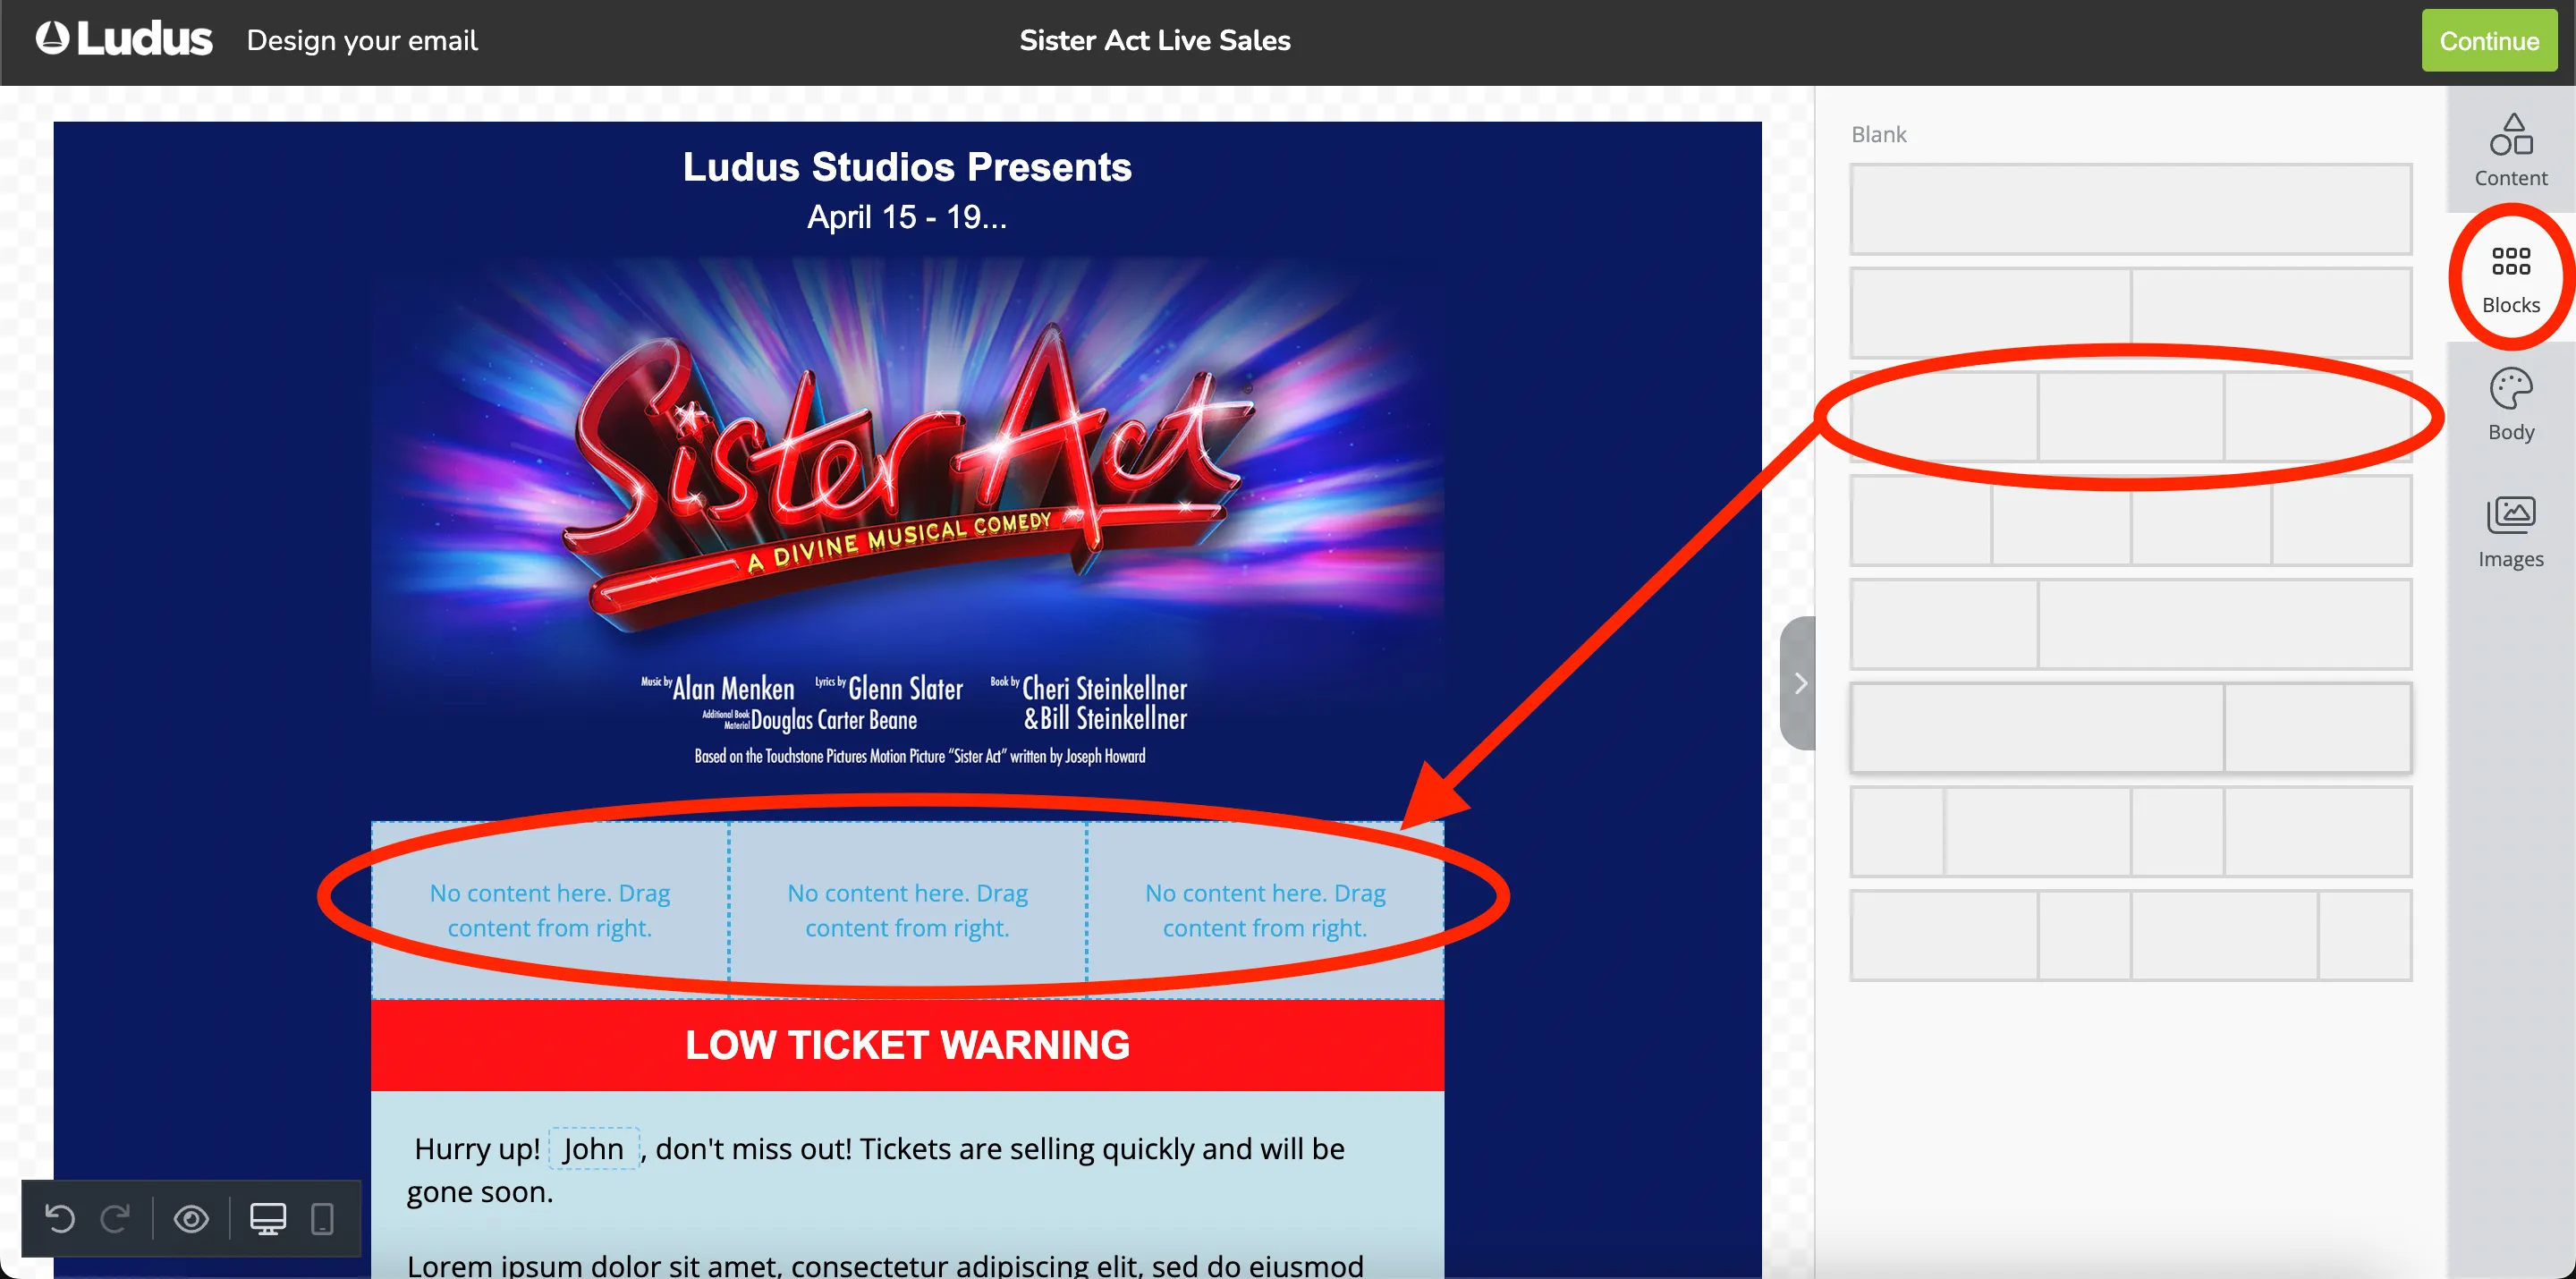
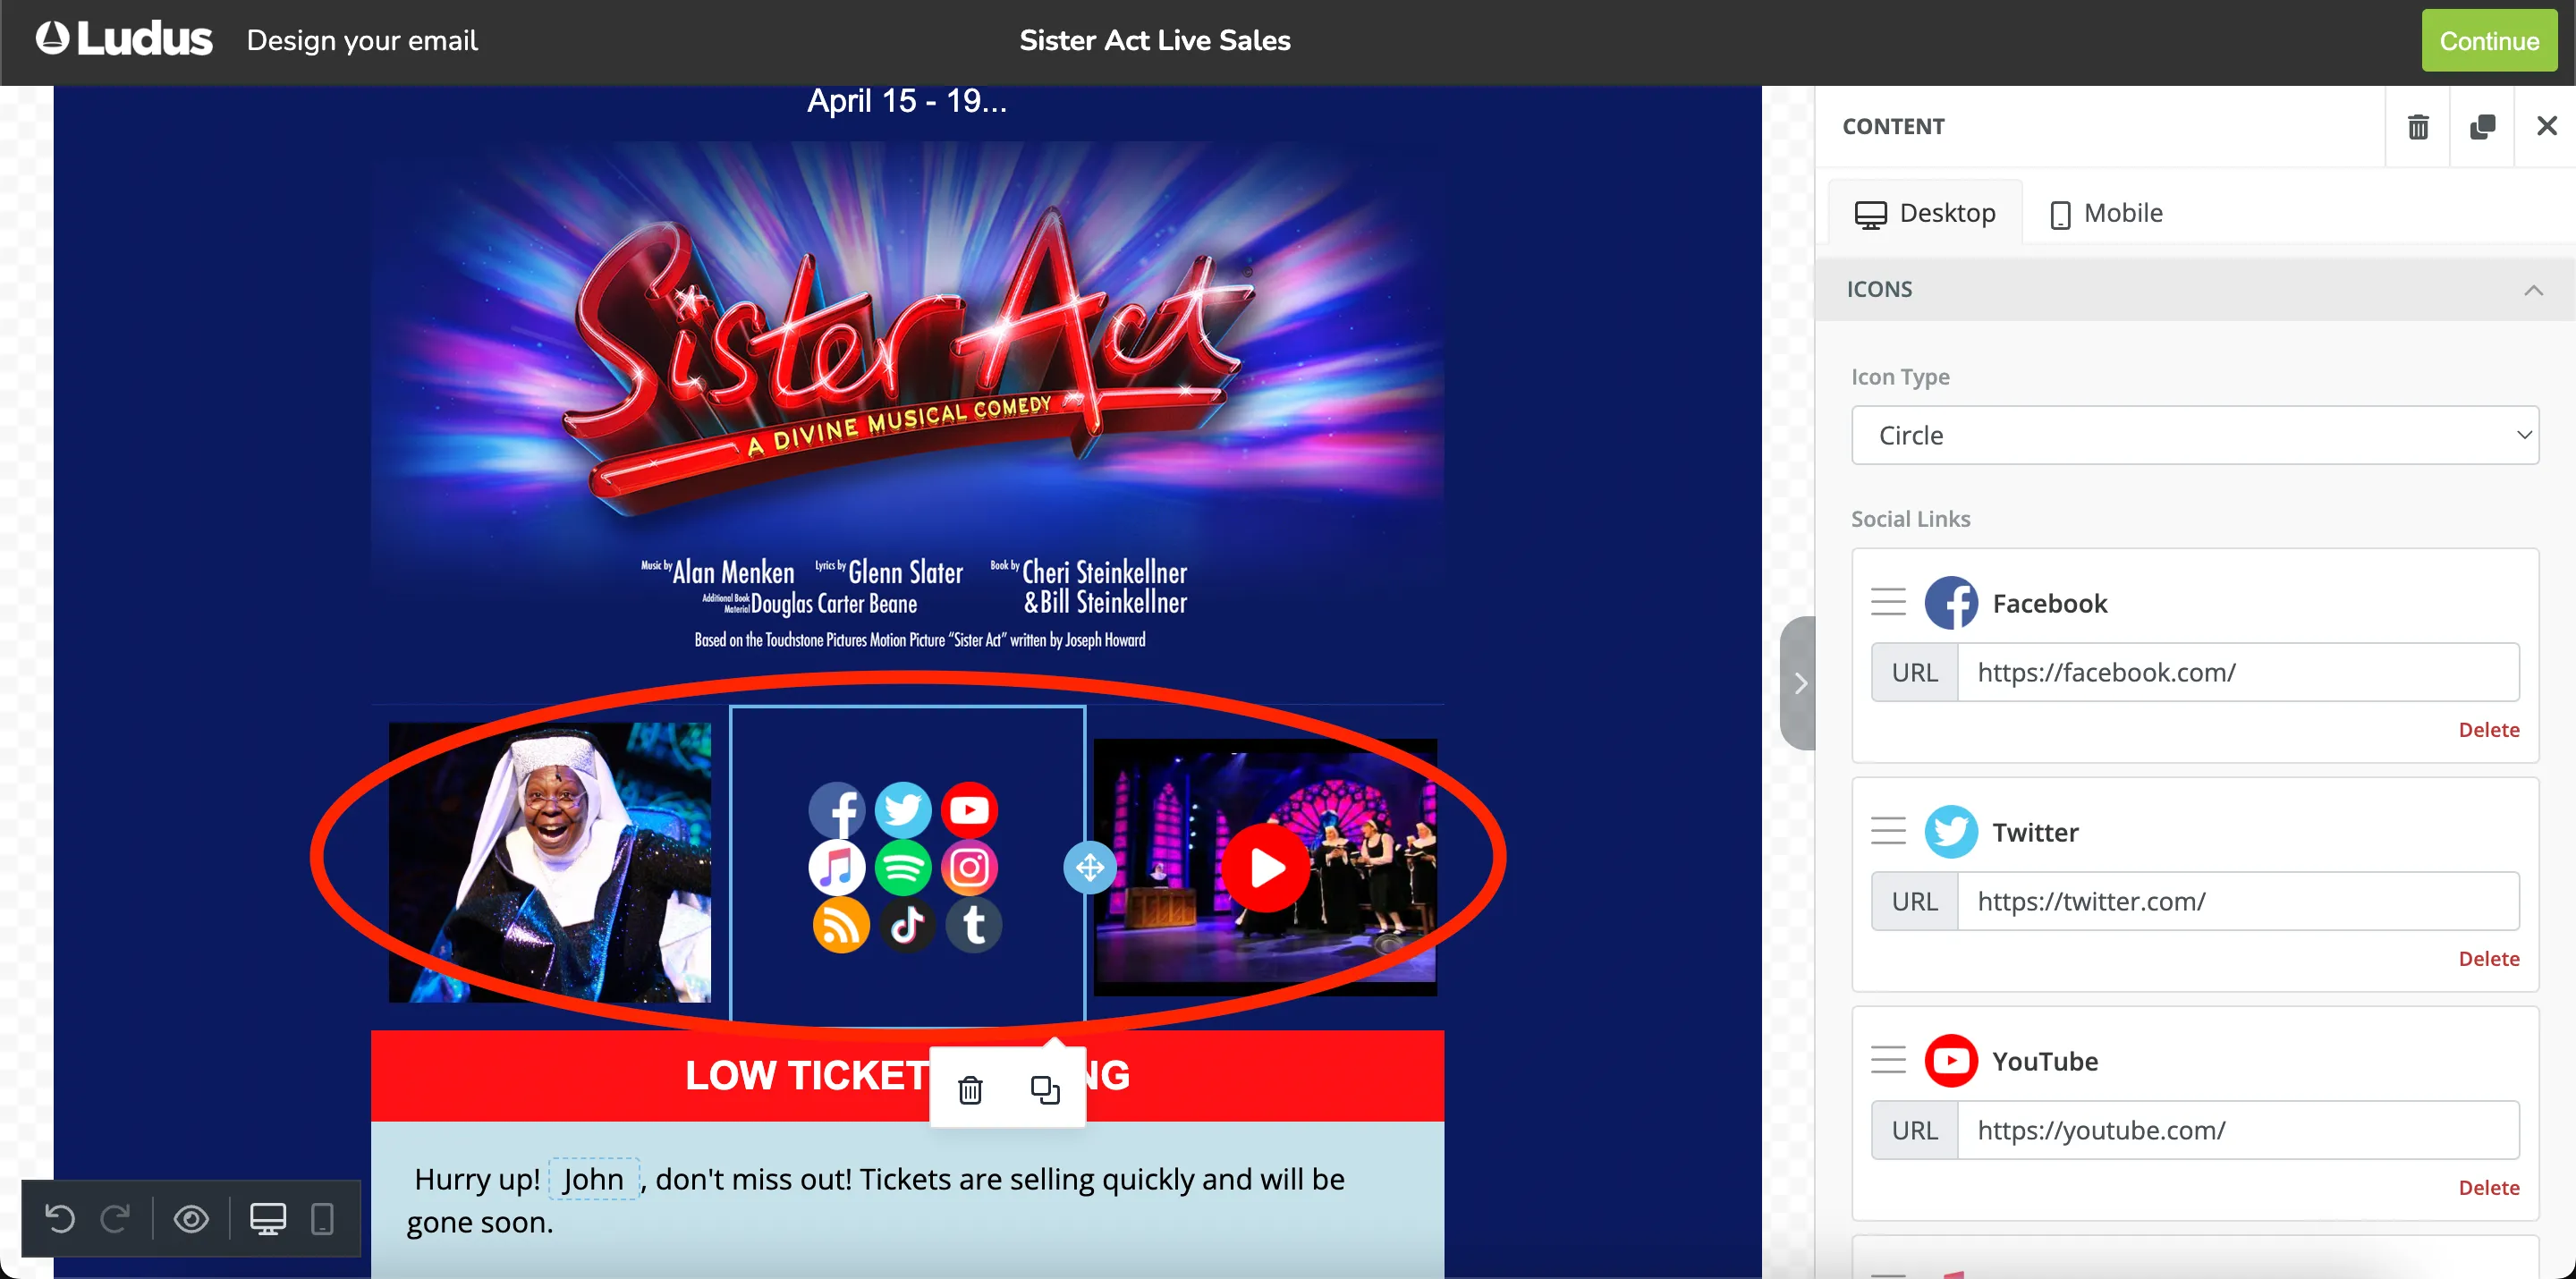
Fill any of the blocks with the type of content listed below.
- Columns: Allows users to add columns to their design to improve layout.
- Button: Add any type of button in your email. You can change colors and styles.
- Divider: This provides appropriate spacing at any point desired in the design.
- Heading: Add headings (from levels 1-6) to the design.
- HTML: This tool provides room to add custom HTML to the design.
- Image: To make your emails attractive, you can add images using this tool. (JPG and PNG files recommended)
- Tip: Make sure you upload your images by dragging them into the "Image" file upload in the email designer, not into the body of the email itself. This will ensure that your images are appropriately sized (in bytes) so your emails aren't too large to send.
- Menu: A built-in tool for creating navigation menus.
- Social: Add social media icons/links to your design.
- Text: Add custom text to your design. This includes merge tags and AI-powered Smart Text.
- Video: Add YouTube or Vimeo videos to the design. This tool automatically generates video thumbnails for emails and ensures they render correctly on all platforms.
Unsubscribe Link Optional. An Unsubscribe link is automatically generated and added to your marketing emails; however, you can optionally customize its color, font, and size.