Create a Marketing Campaign
Within Campaigns, you can customize the title, "from" name, recipients, content, and timing of your next Marketing blast.
To start creating a Campaign, navigate to Marketing --> Campaigns.
Steps to setup
If this is the first Campaign, click Create your first campaign. Otherwise, select New Campaign.
Choose a name for your Campaign. This is for internal use and is different than the subject line for your email blast.
From here you will also enter:
- The Audience (Choose from your created audiences. To create an audience visit Patrons -> Audiences.)
- From Name (The sender name that will appear on this email.)
- Reply-To Email (The sender email to properly route replies.)
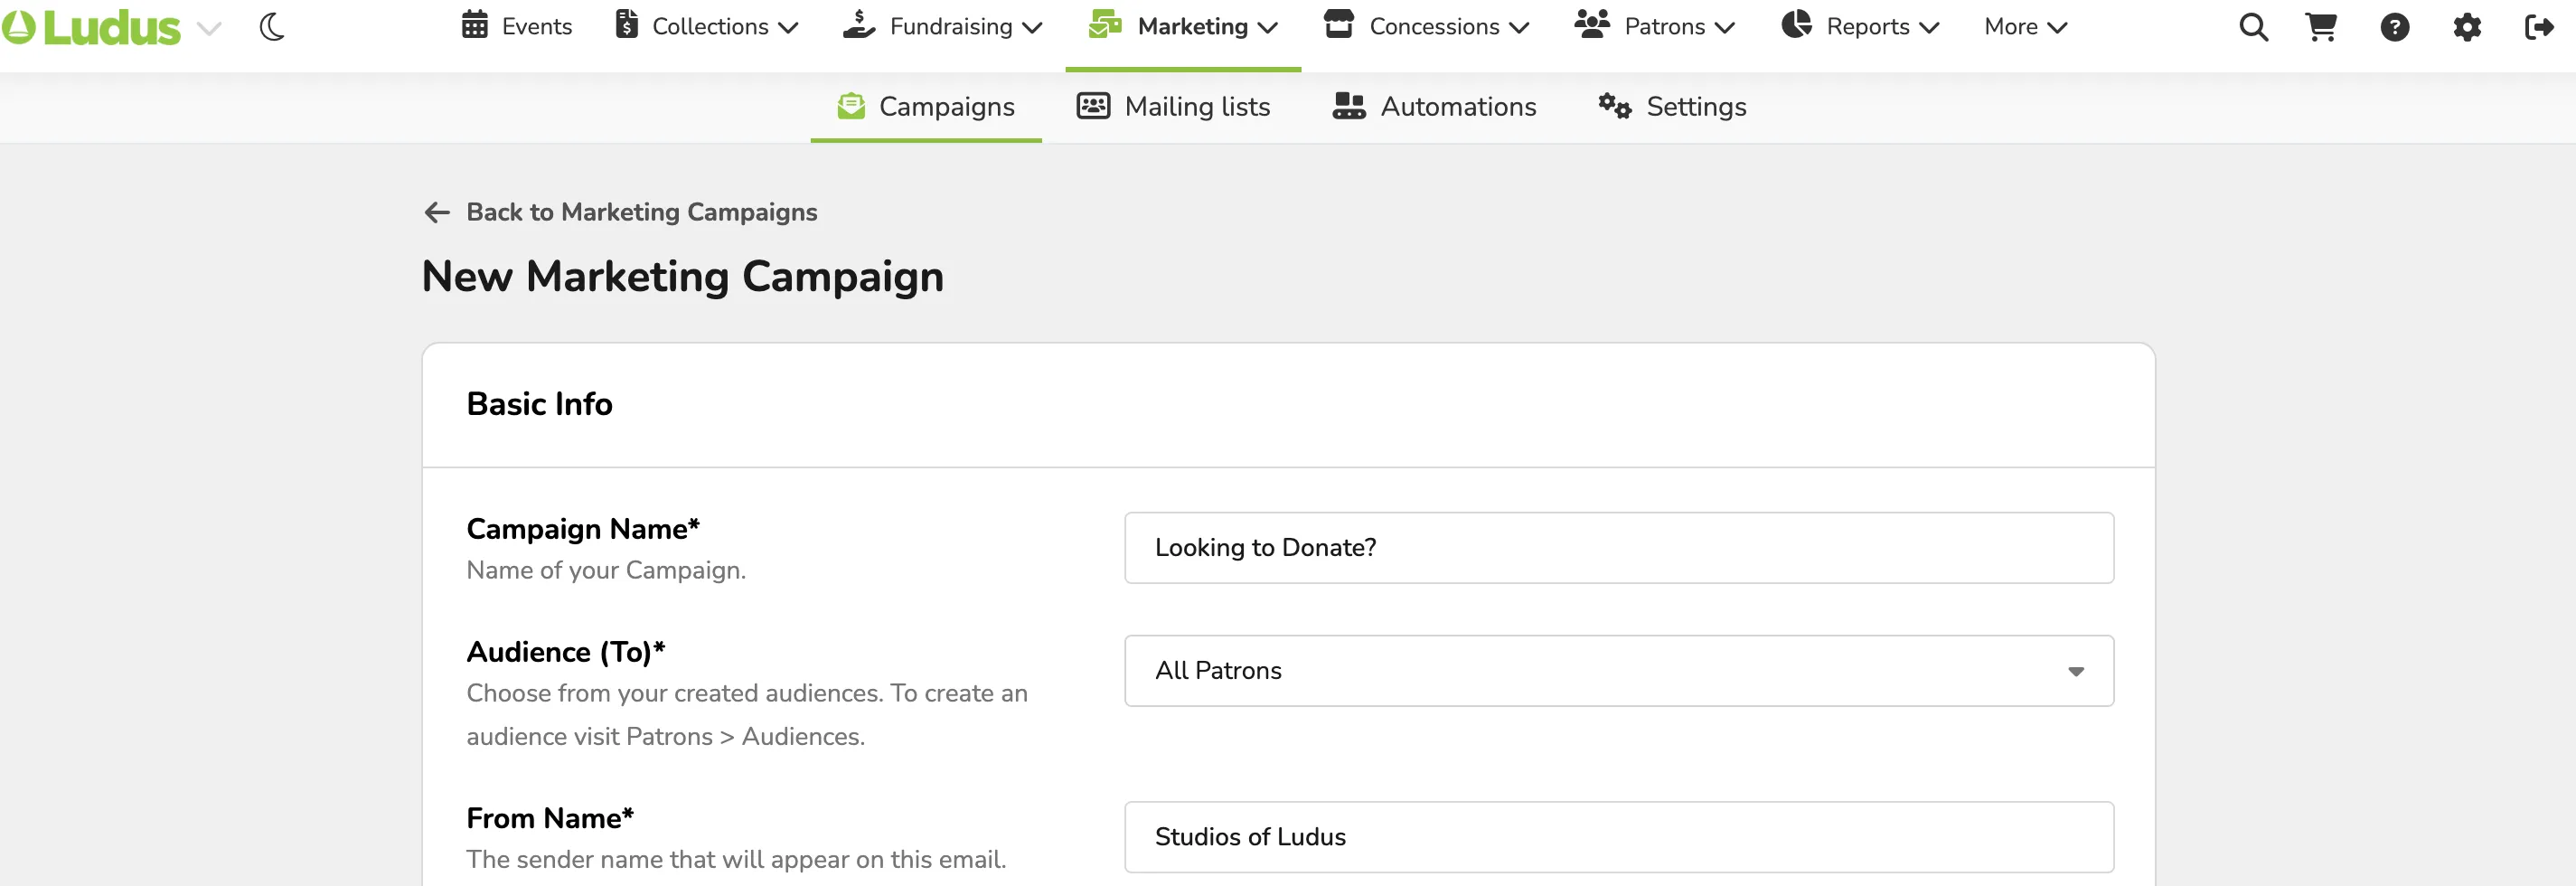
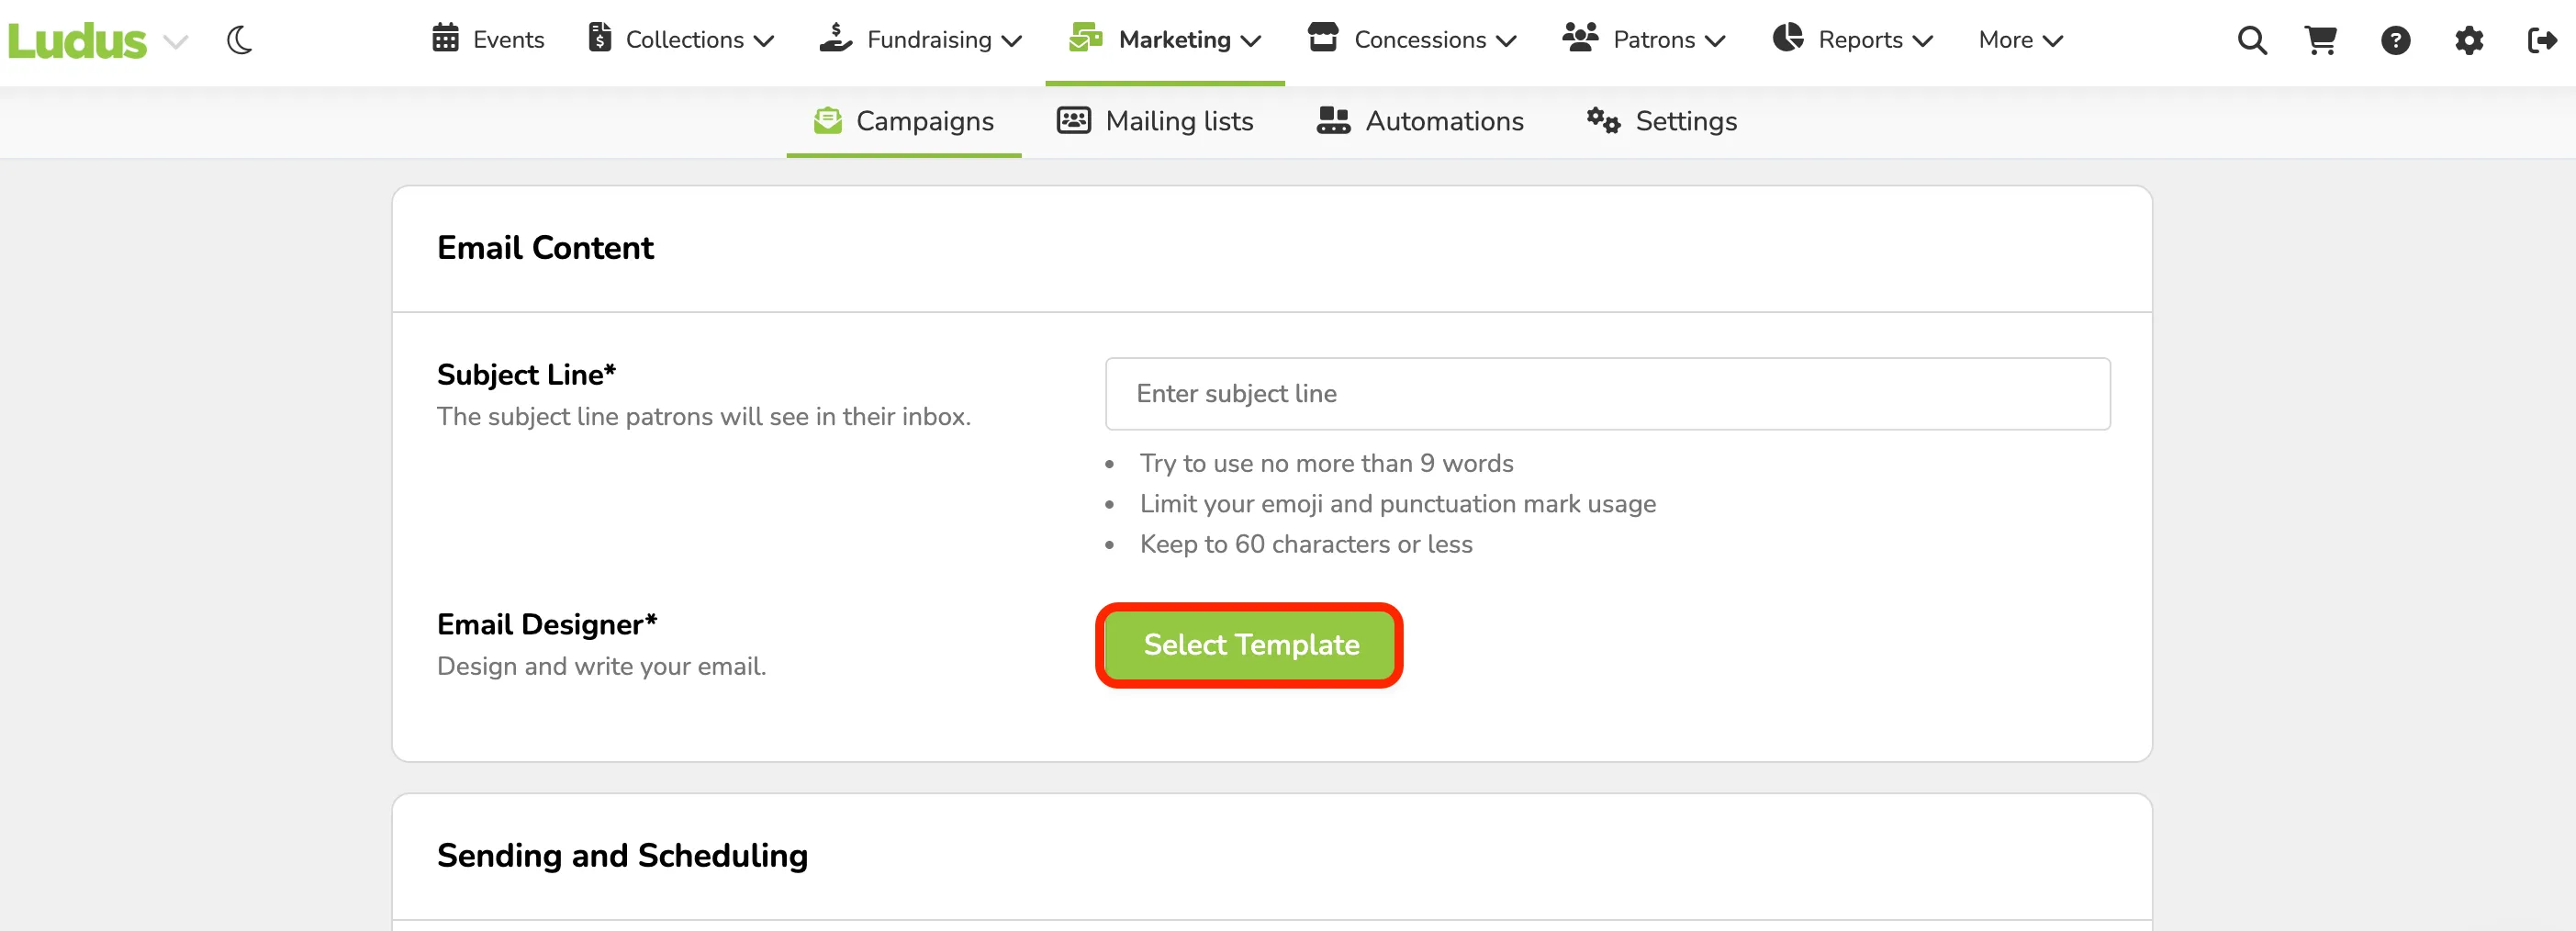
Under Email Content, you can enter the Subject Line and select a Template.
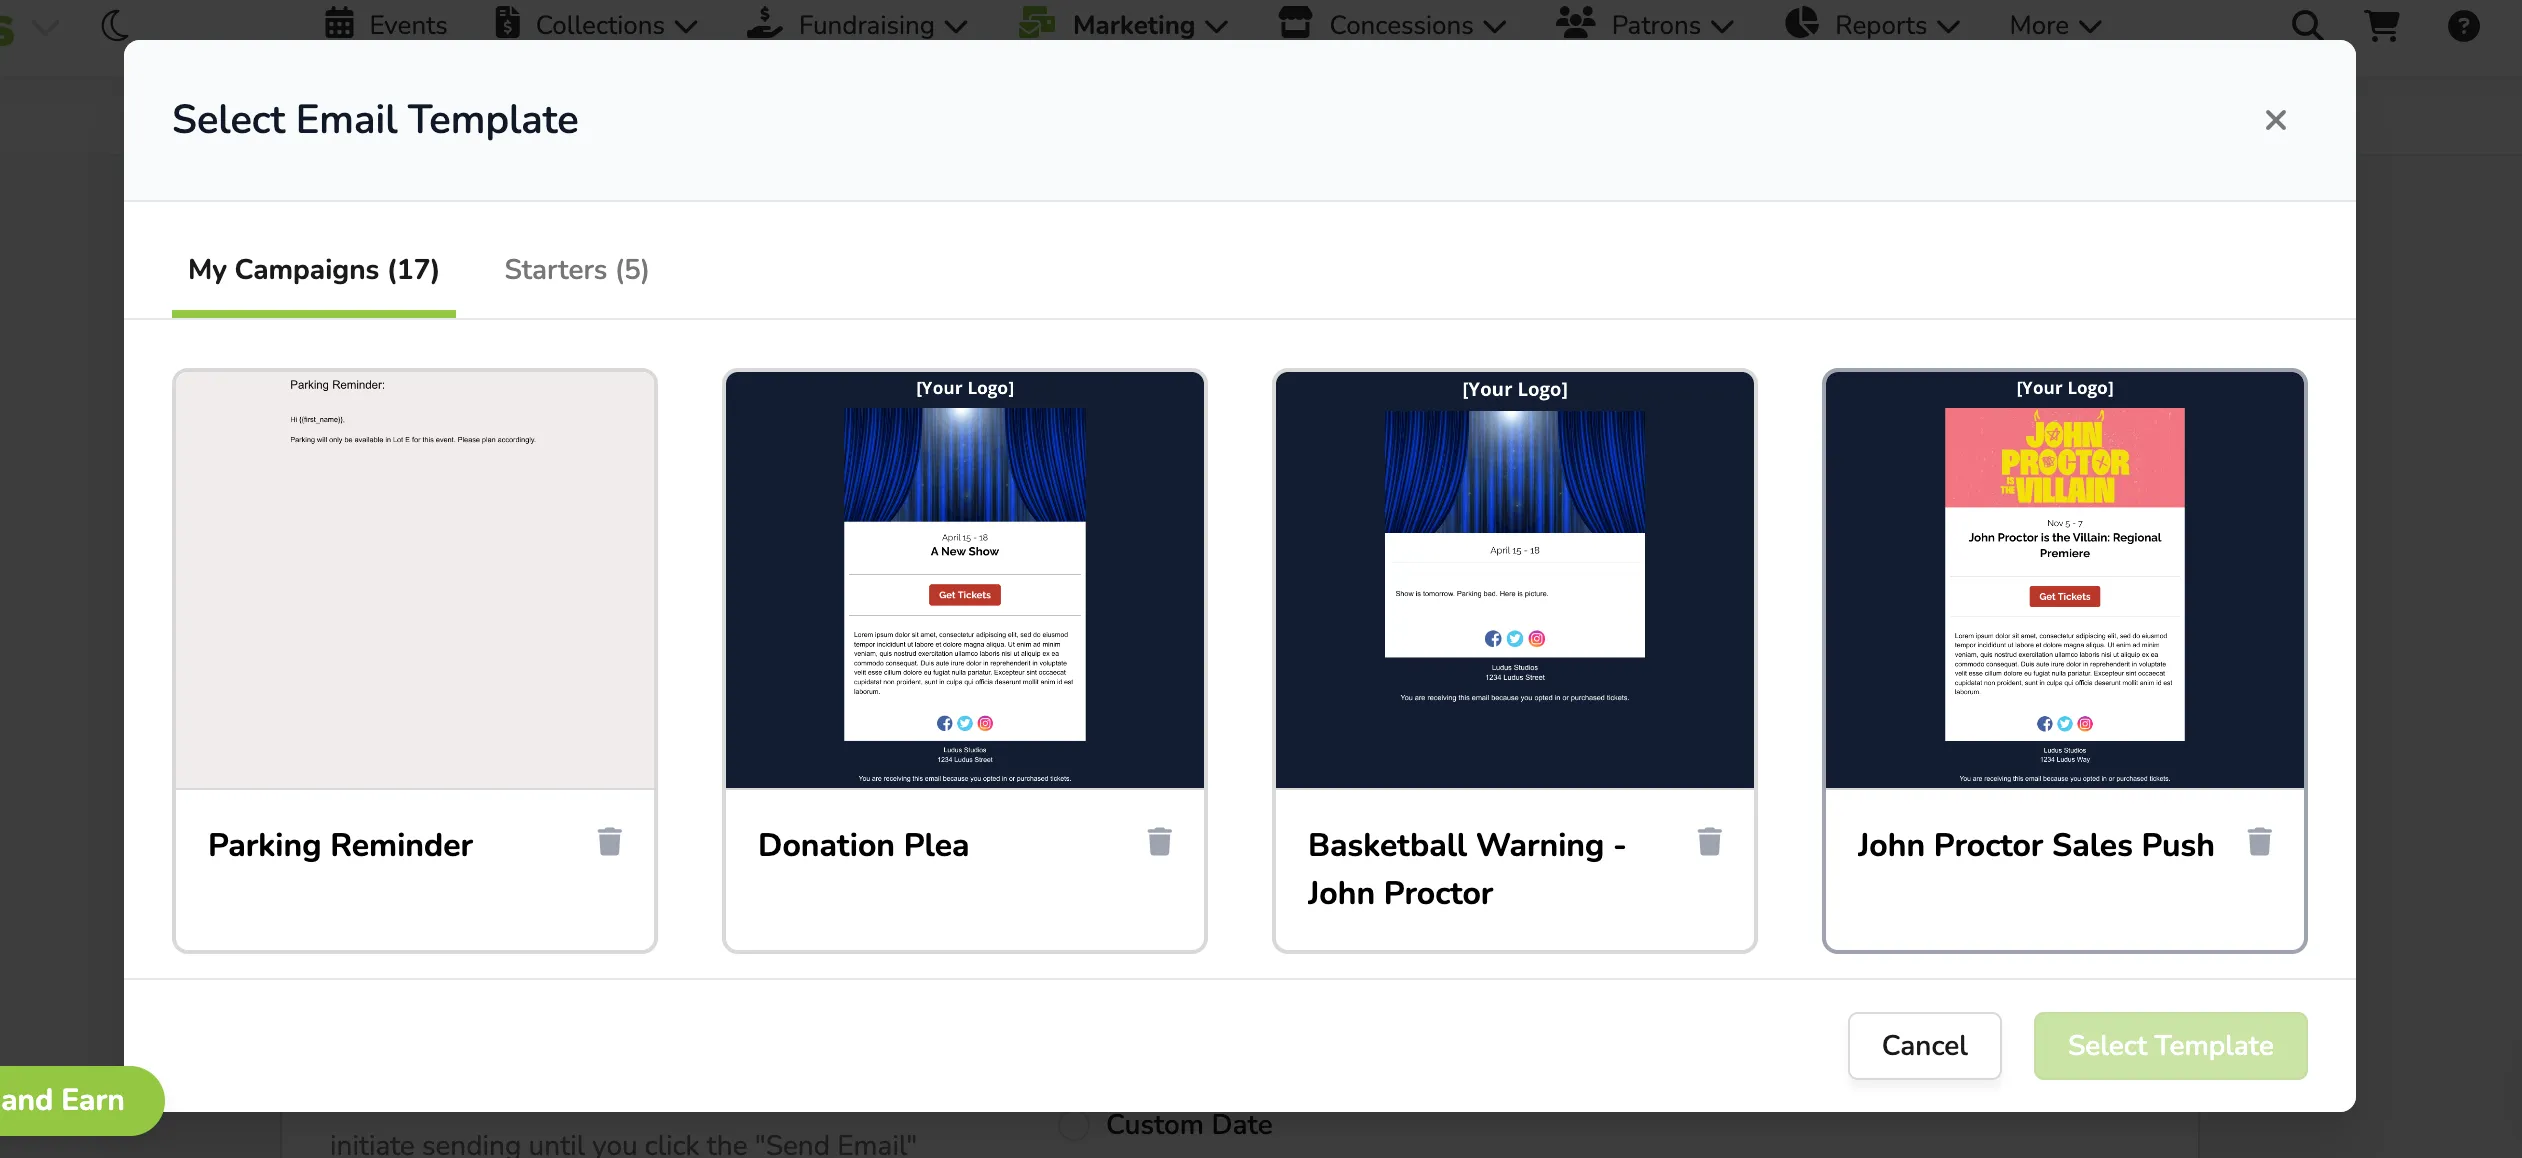
Choose a Template for your email design by clicking Select Template.
You can choose from one of our preset options listed under Starters or use the base from an email you have sent in the past using My Campaigns.
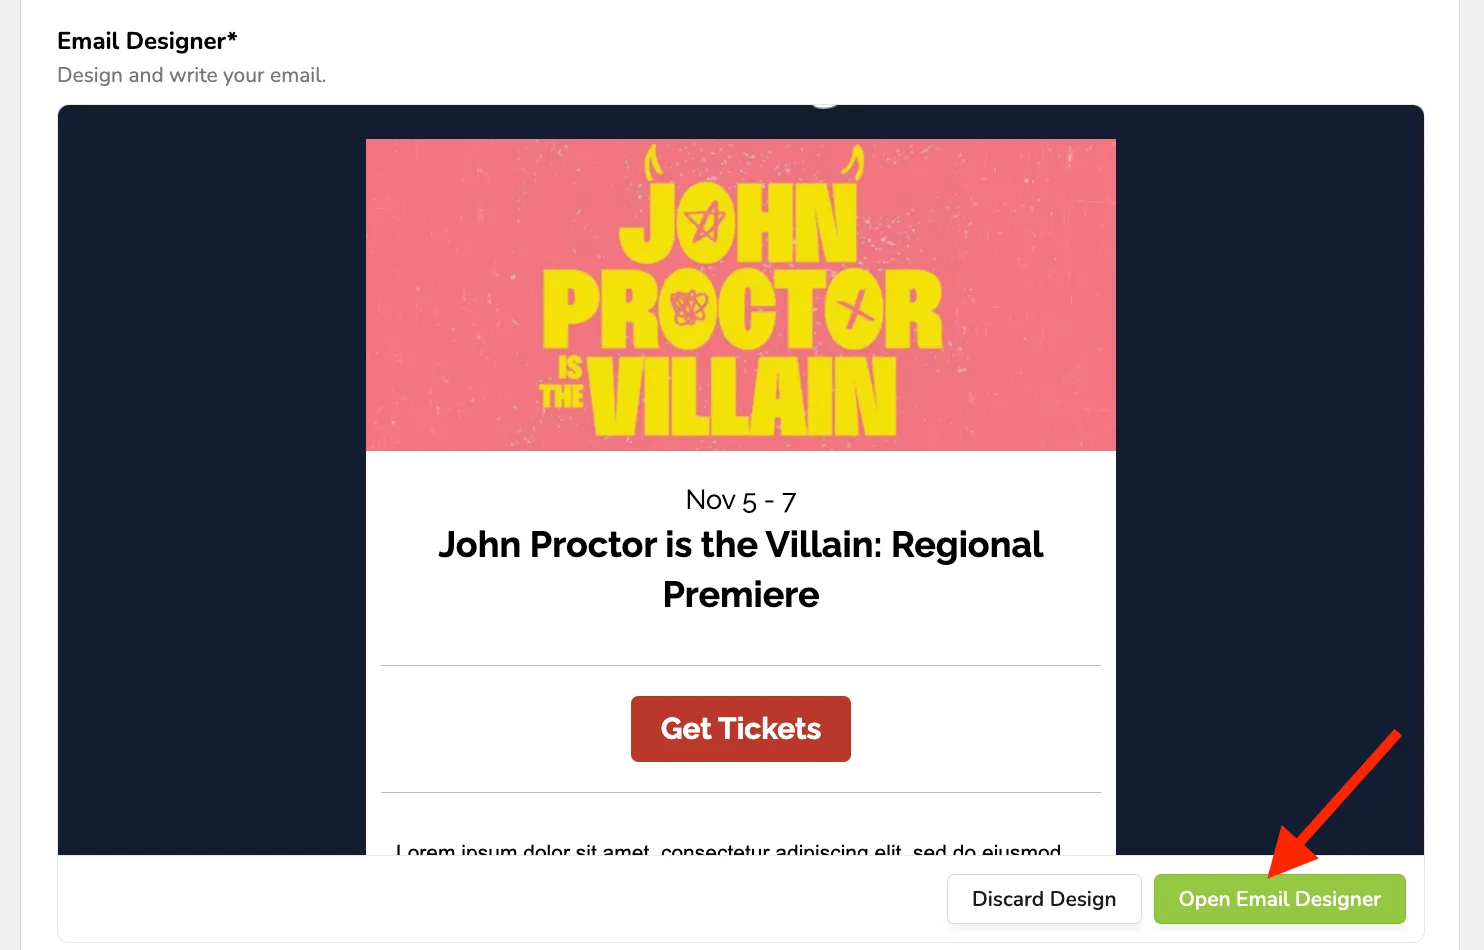
Once you have selected your template, you will be able to open and edit that Campaign in the editor by clicking Open Email Designer.
Suggested Article: Basics of the Marketing email design tool
Finally, you can adjust the Sending and Scheduling.
You can send it immediately (an email will be sent within the next 10 minutes) or at a custom date/time in the future.
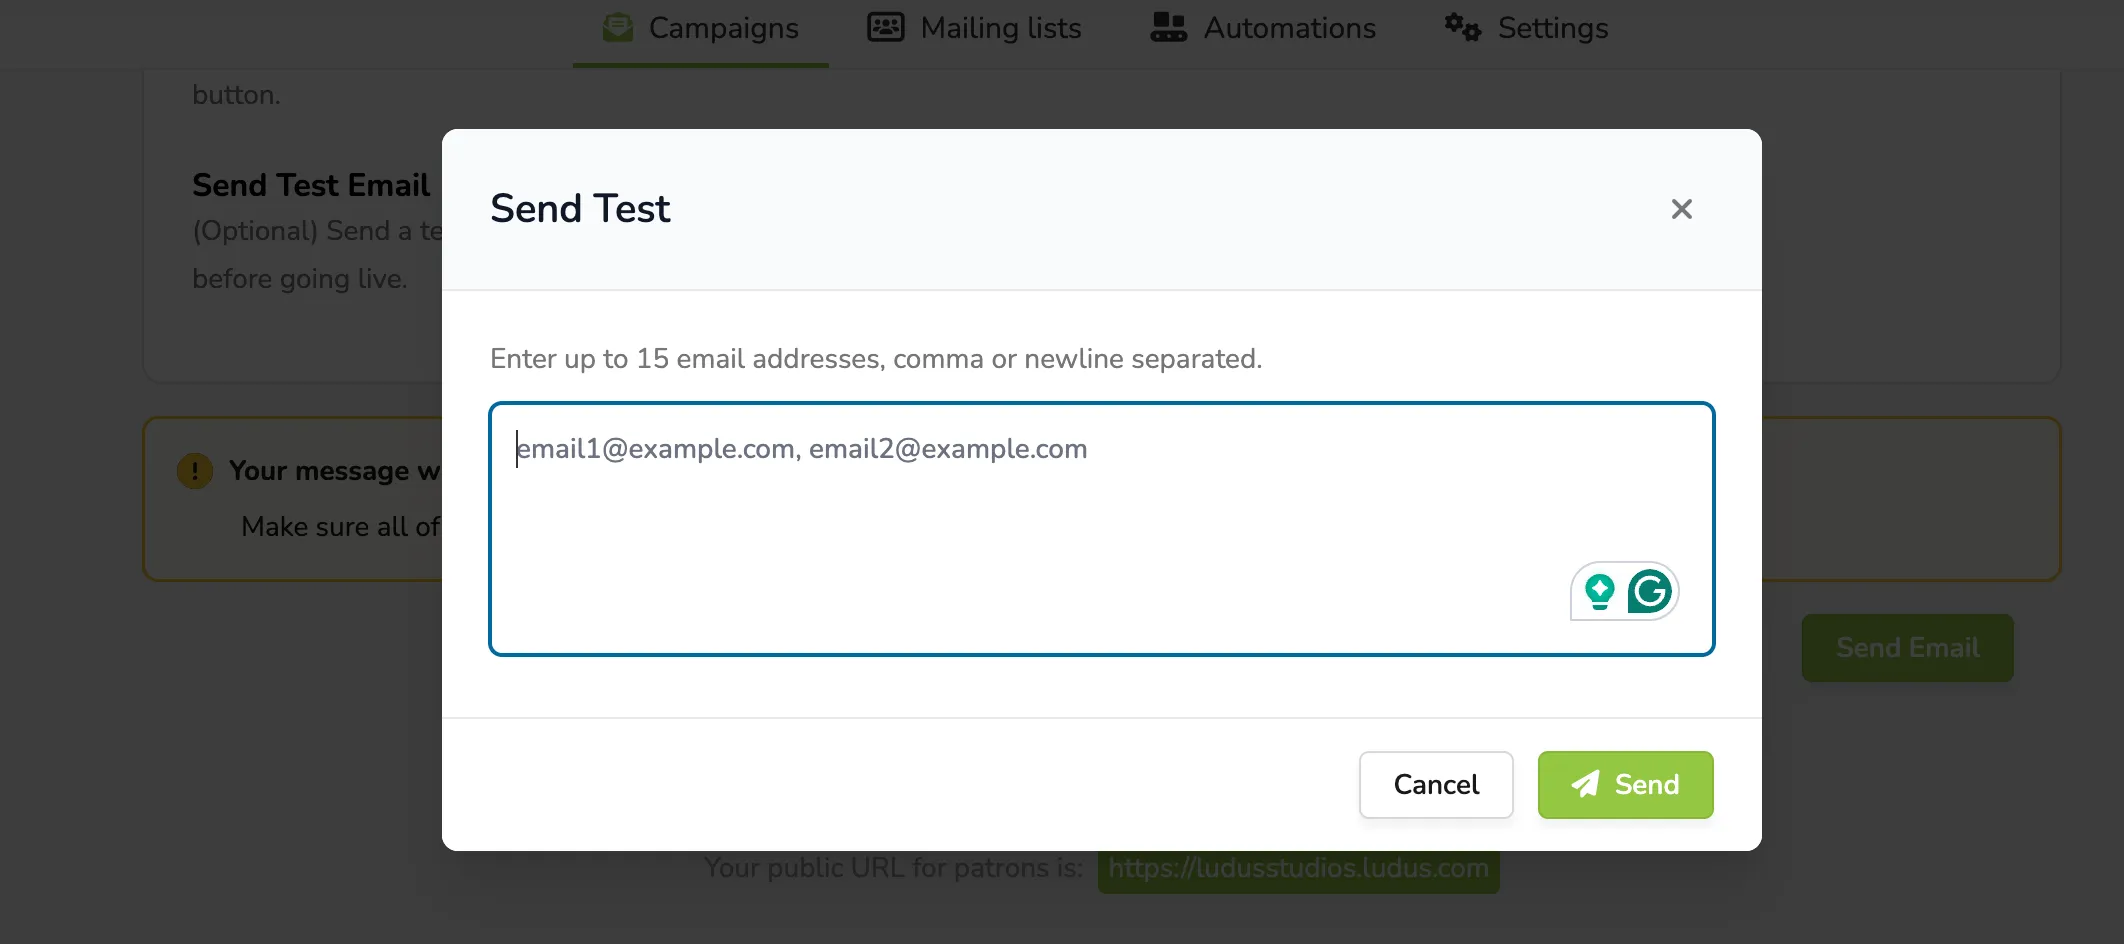
To send a test before you send the final draft, select Send Test Email and enter the Email or Emails -> Send.
If you still need time to edit the overall Campaign, simply click Save as draft. When you are ready to send, choose the send time.
Once you click Set Live, the email will be sent on the date selected.