Patron Profiles
Every time a patron interacts with your Ludus — buys a ticket, registers for a class, makes a donation, reads an email, etc. — we build a profile on all of their activity and history.
The patron profile gives you a glimpse at an individual and allows you to edit their info, add private notes, create relationships with other patrons (spouse, parent, friend, arch-nemesis, etc.), attach custom tags (donor, VIP, volunteer, etc.), and more.
Managing patrons is an important aspect of Ludus, allowing you to set patron tags, add private notes, see patron activity, merge profiles, and more.
Video Overview:
Information available on the Patron Profile
Patron profiles include patron details on the left-side panel, as well as 3 pages to the right of the main display. These include the Overview, Orders, and History pages.
Patron Details
The main details for a patron are listed on the left side panel of a patron profile. These items will always be visible when viewing a patron's profile.
There are two blocks of information here that can be edited. These blocks are separated by a divider. On top is the name field, and then below that is additional patron information. To edit, hover your mouse over the name or additional information, and an edit icon will appear; click it to open the editor.
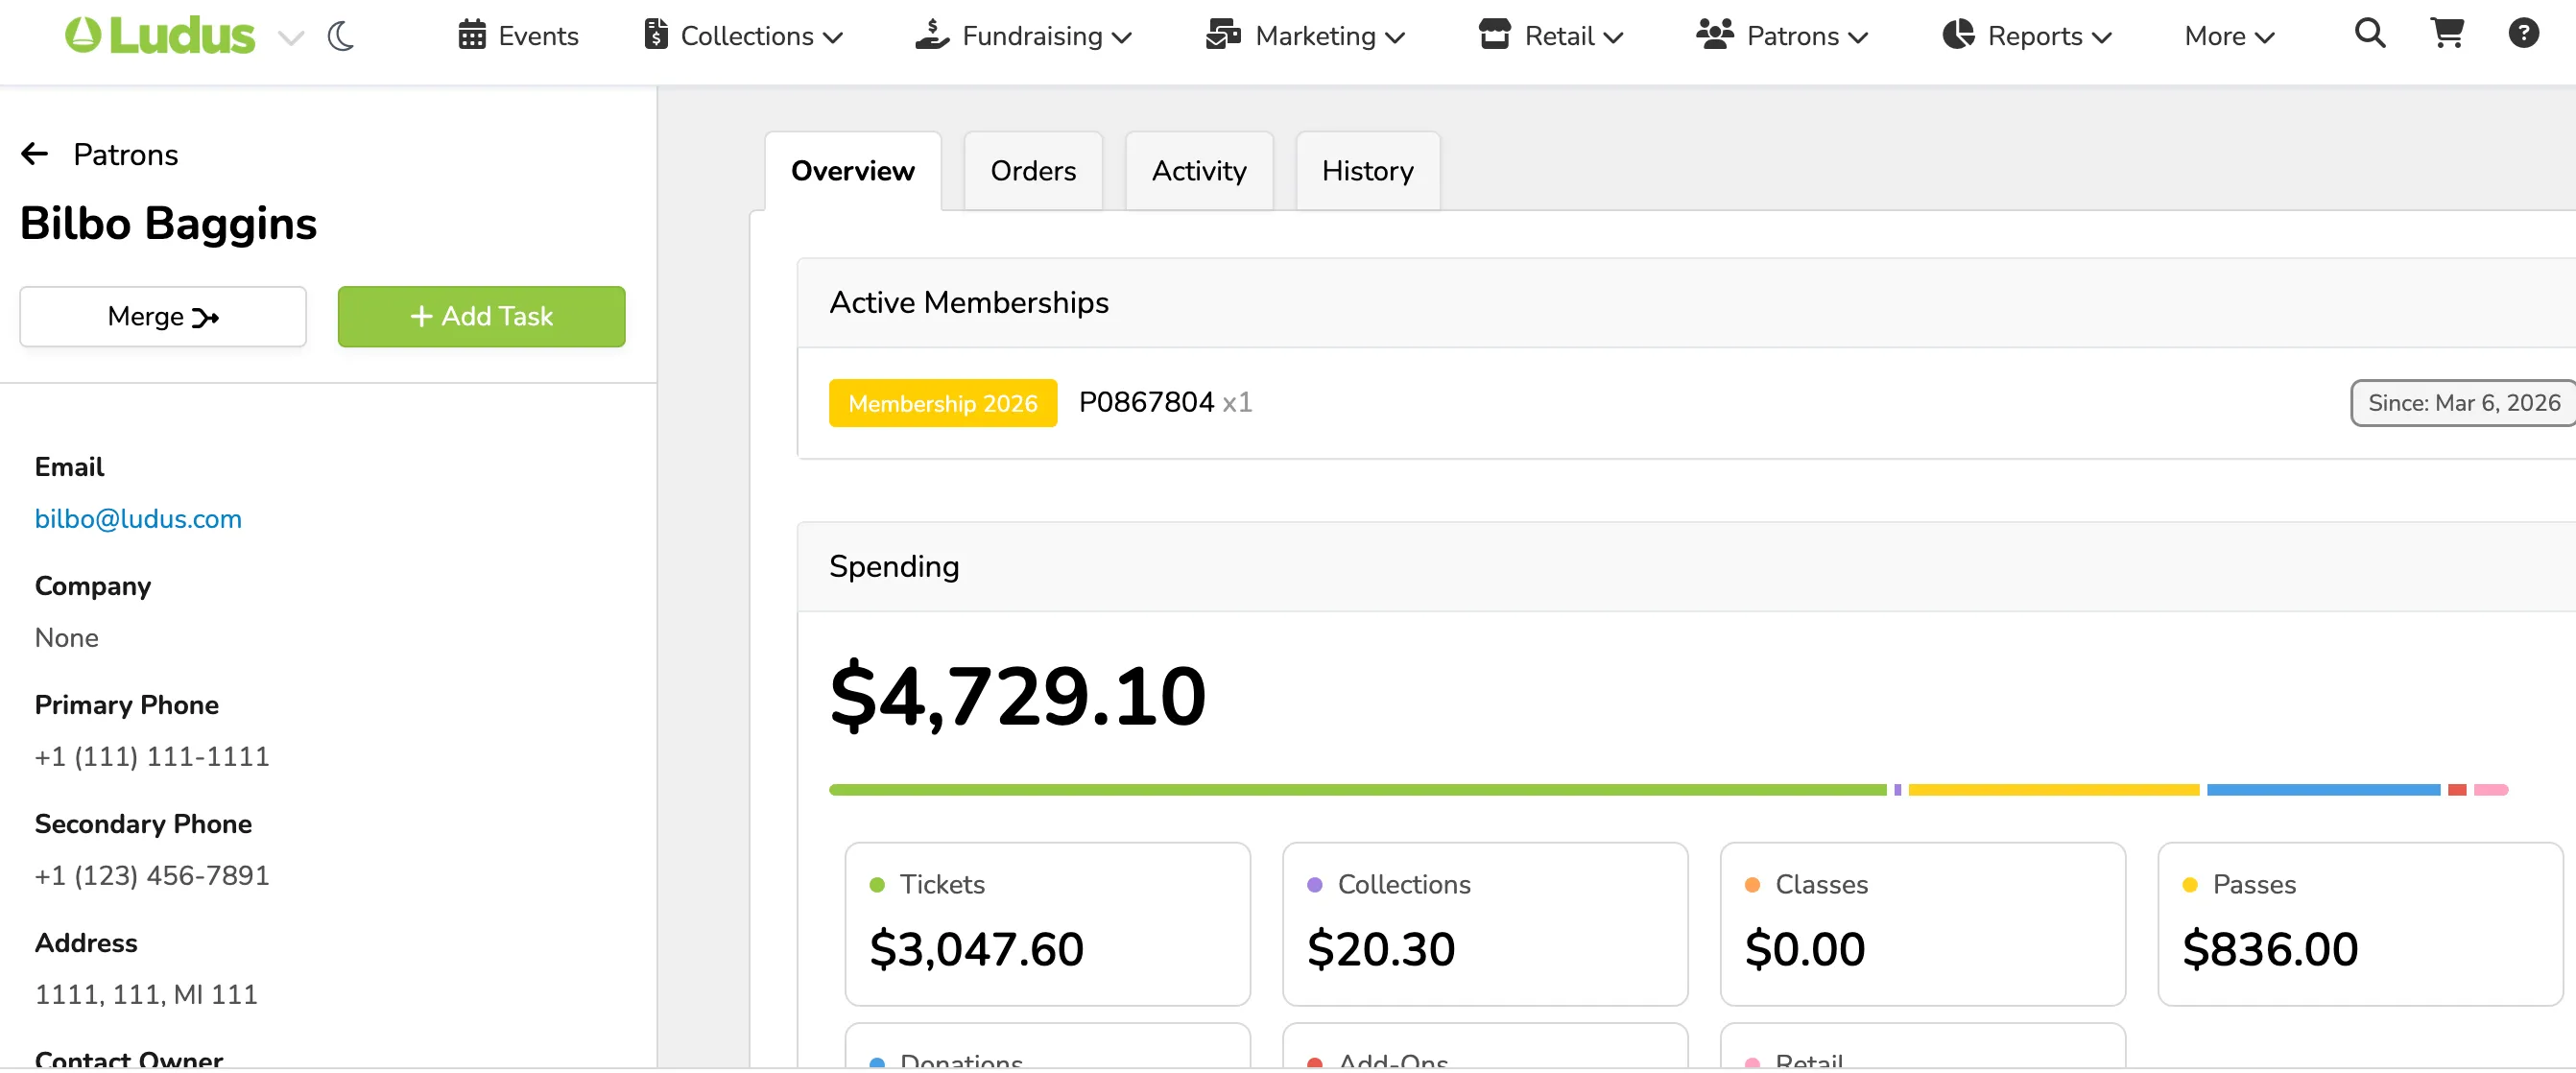
When you click the patron's email on the profile, it opens Mail To on the computer. This will not always open the Mail Client (depending on your browser). Additionally, you can always right-click and copy and paste for later use if easier too.
The Overview Page
The overview page is where you will find important information about the patron, including a breakdown of spending.
Active Memberships
All active memberships will appear in this area. Recurring memberships will show their status (Valid Until, Due, or Past Due).
Non-recurring memberships will display a message indicating how long they have been a member.
Clicking on a membership here will take you to the membership screen, where you can view payment information and renew. You can also view the amount received to date for the membership.
Spending
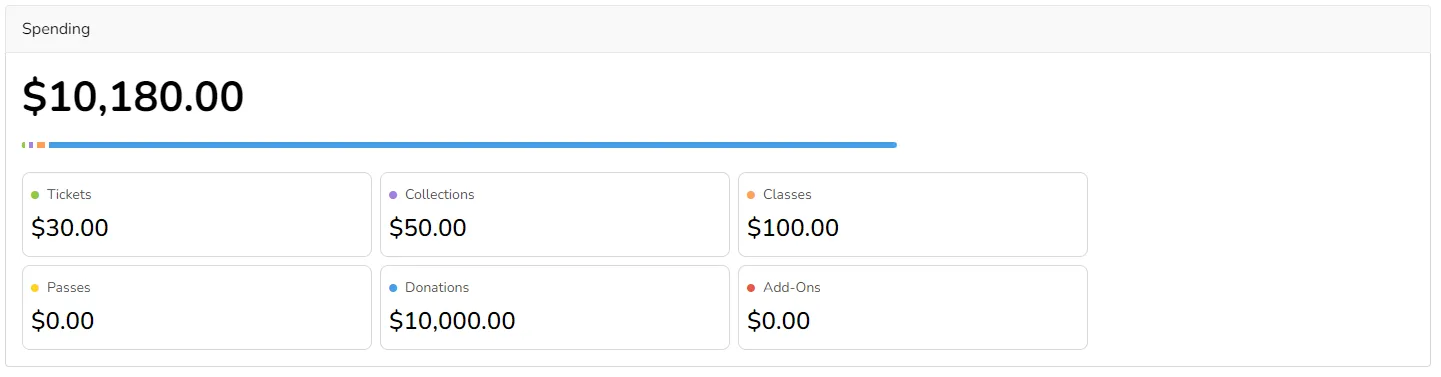
Spending provides a breakdown of the spending totals for the patron, broken down by Tickets, Collections, Classes, Passes, Add-Ons, and Donations.
Transactions
This area contains the dates when the patron was First Seen, as well as the dates of their First and Last Transactions.

Tags
Tags are an additional way to segment your patrons. You can add as many tags as you'd like to a patron. For example, you could add the tag "VIP" to important patrons or "Mega Donor" to patrons who have historically donated large amounts. These tags can be used in our Marketing feature to help sort your Audiences
To add a new tag, simply begin typing in the text box provided and hit Enter to save. To remove a tag, click the X next to the existing tag in blue.

Relationships
This area highlights any relationships the patron has with other patrons or students in your database. To add a new relationship, click the green +Relationship button. Search for the patron and choose the relationship.

Mailing
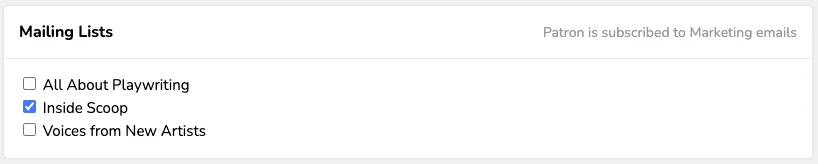
If you are utilizing Mailing Lists in our Marketing feature, their subscriptions will appear here.
Notes
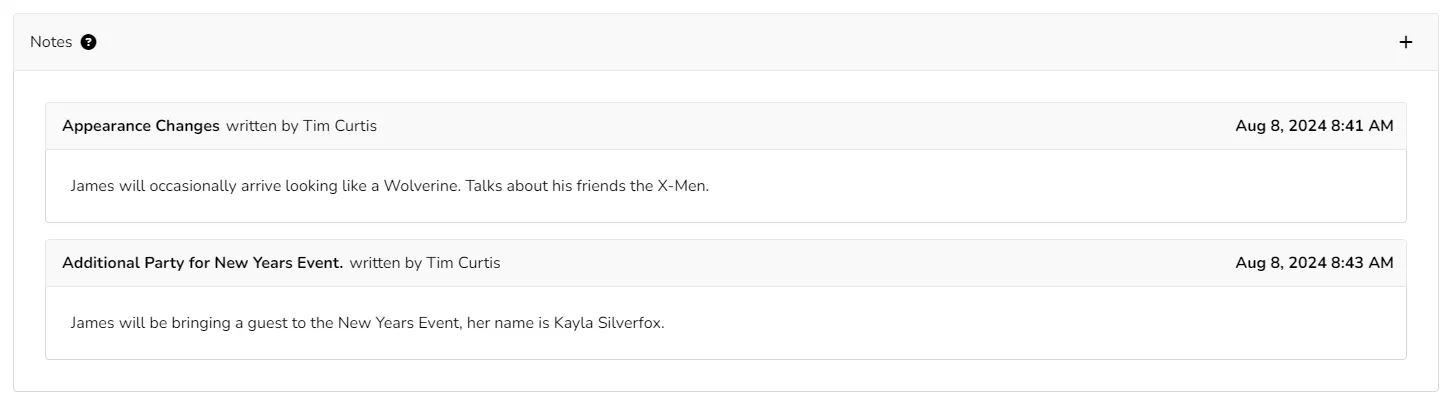
The notes field replaces the Patron Details field. Here, you can add multiple notes on the patron account. To add a note, click the + icon to open a modal to create the note.

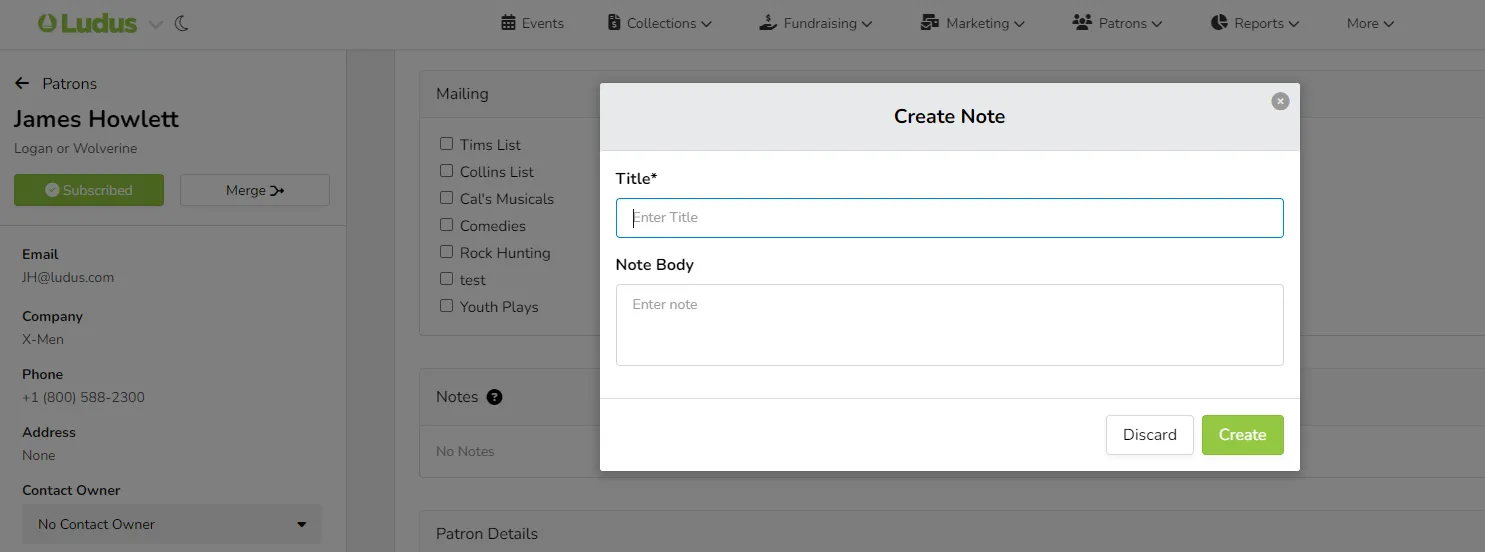
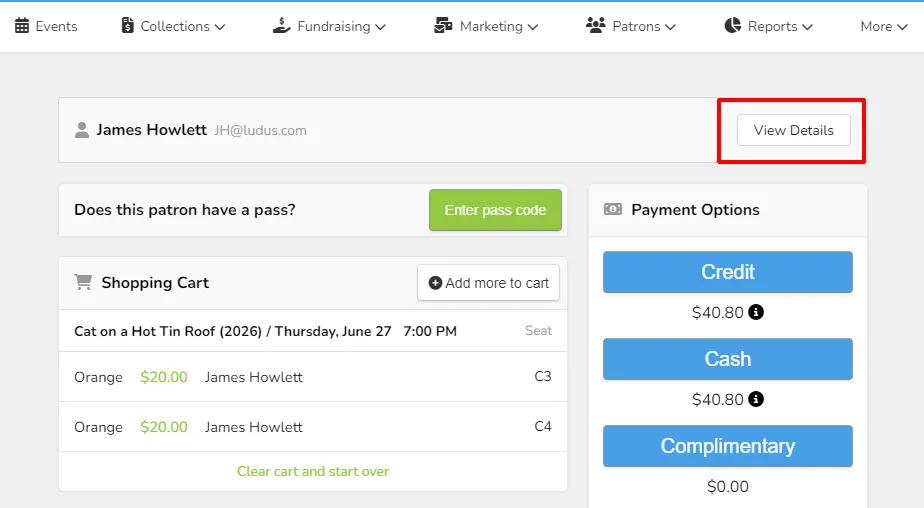
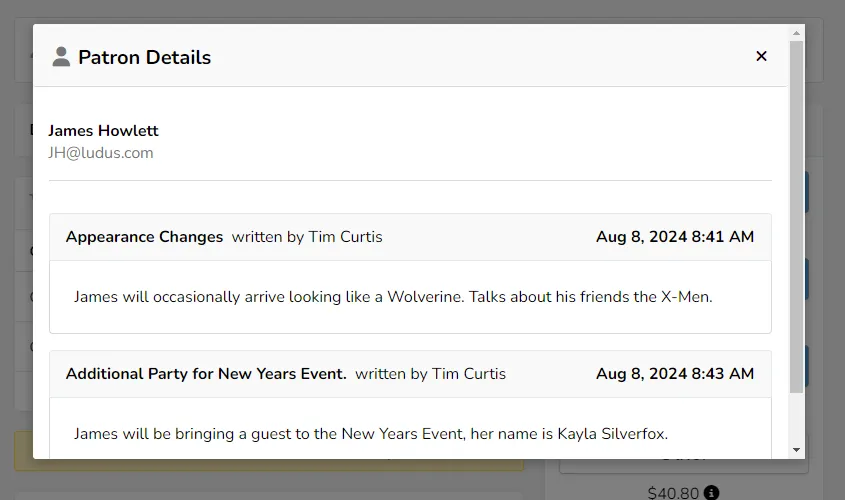
Once you save your note, it will be added to the patron's profile and will be visible to Admins on the checkout screen.
To view the patron notes as an admin. Click the View Details button on the checkout screen to open a pop-up with all notes for the patron profile.
Accessibility Details
If you are utilizing the Accessibility Details feature, any notes typed by the patron or the admin will appear in this field.
Suggested Article: Collect accessibility notes during checkout

Form Submissions
Any forms submitted by the patron will be displayed on the overview page, making it easy to locate this information.

The Orders Page
Here you will find, just as the name implies, a list of all orders the patron has made, broken down by category.
The categories in order are:
- Tickets: Including Collections
- Donations
- Passes
- Pass Renewals (If you use this feature)
- Invoices (if you use Invoices)
- Transfers
- Gift Cards (If active on your account)
- Class Registration (if used on your account)
The Activities Page
The Activities page is the home for Tasks related to the patron as well as a center to log activity with your patrons.
Here, any tasks that are created and assigned will appear, but you can also use this area to log things. As an example, if Peter Parker calls the box office and you would like to have a note of the discussion, you can go to the Activity page while you are talking to them and click Log Activity.
This will open a window in which you can enter information about the phone call. The date and time fields will auto-populate with the current date and time. You can then set the outcome of the call, as well as whether it was an incoming call or an outgoing call, and make any notes you would like to add.
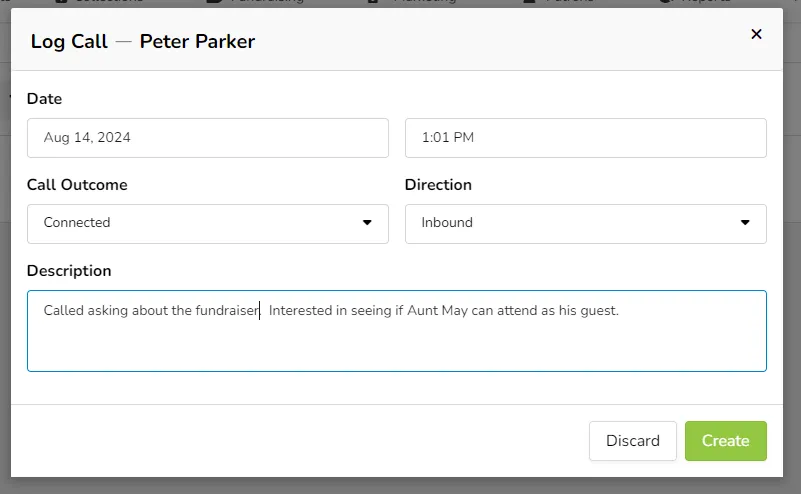
When completed, simply click Create to add this call to the activity page.
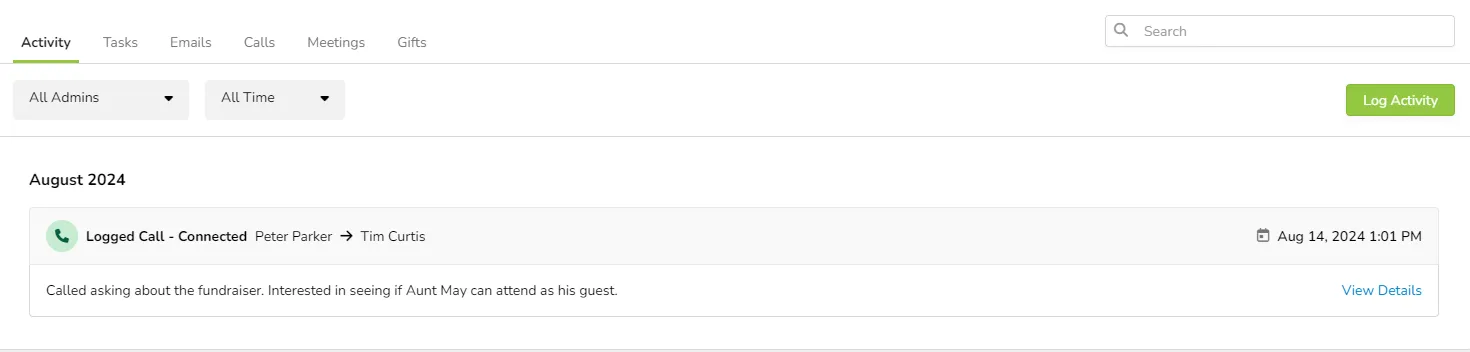
On this page, you can log the following items:
- To-Do
- Calls
- Emails
- Meetings
- Gifts
- Letters
The History Page
This page includes historical activity for the patron. This includes online purchases, admin panel sales, abandoned carts, subscription actions, and such.
Learn more:
Merge two patron profiles into one.
Learn more about patron profiles.