Set up a Flex Pass
3 min
Steps to Create a Flex Pass
From the top navigation bar, click the More --> Passes.
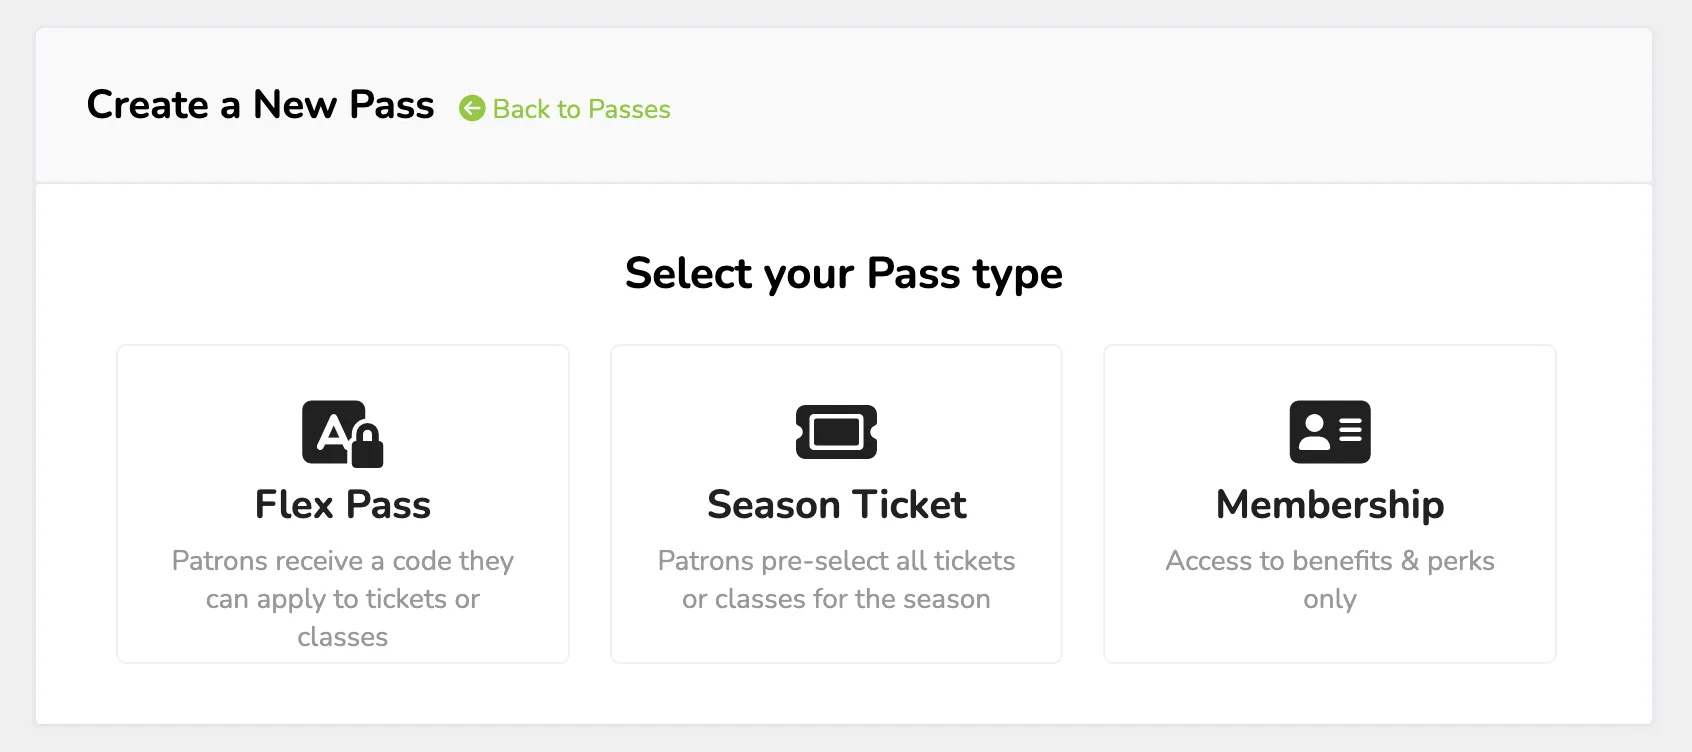
Click Create Pass and select Flex Pass.
Fill out each section in accordance with how you'd like the pass to function. For more information about each section, view the "Options & Terms" below.
Click Add Pass to save.
Options & Terms
- Type: The kind of pass you are setting up. This will automatically be chosen based on your choice on the previous page.
- Name: The name of the pass. This is what patrons will see when purchasing the pass.
- Pricing: The price patrons will pay to purchase the pass.
- Tax Exempt (only if you are collecting Sales Tax): Select if you wish for the pass to be exempt from any Sales Tax
- Suggested Article: Collect Sales Tax
- Expiration: When the passcode stops working for each patron.
- Description: A customized description that is displayed when patrons are choosing their pass. Great for explaining the pass's benefits to the purchaser.
- Perks: manage perks given to passholders when they sign in using their pass.
- Suggested Article: Perks available for Flex Passes and Memberships
- Limits: Limits on the number of tickets they will receive with each pass and the number of tickets they can use per event, per event time, etc.
- Suggested Article: Breakdown of Limits on Season Ticket
- Events: Distinguish which event(s) are available for reservation in this pass (must include at least one event, and up to all of them).
- Event Times: Select the event time available for reservation on this pass.
- Click Select All to quickly choose all event times.
- Ticket Types: The different prices/ticket types that patrons will be able to select with the pass. If no ticket types are set, then the pass can be used on all publicly available ticket prices.
- We recommend assigning the pass to tickets that are not $0. When assigned to a $0 ticket, the ticket will appear as free rather than being removed from the pass total.
- Select (Advanced) - Enable recognized revenue values for event-level reporting if using that.
- Suggested Article: Recognized Revenue and Cash Basis Reporting for more information.

- Form: Attach a form to the pass purchase process.
- Suggested Article: Attach a Form to a Pass
- Coming Soon: Display the pass as an option that will soon be for purchase while still restricting public sales.
- Suggested Article: Enable Coming Soon mode for a Pass
- Special Passcode: Requires a special passcode to unlock this pass. Leave blank for no passcode.
- Suggested Article: Passcode protect a Pass
- Fees: Choose whether you'd like to pass on or absorb the Ludus ticketing fee. *Note the fee for flex passes only when the pass is purchased, not when tickets are redeemed on the pass.
- Suggested article: Ludus Pricing Table
- Color: The color that will appear on the pass selection page and pass reporting. This is only a visual change and does not limit or change any functionality.
Flex Passes do not require you to create all events before selling them. You can add events eligible to use on the pass at any time by editing the pass. You can set the pass rules to specify the total number of tickets the pass is valid for.